
Reason Automation Portal Updates | October 2024
Table of Contents
Updates to User Management, Billing and Dashboards
Managing & Purchasing Dashboard Seats
Updates to Connections Controls & Dashboard Exports
Updates to User Management, Billing and Dashboards


Add/Invite users
To Invite users to your RA portal, Go to the "Users & permissions" page on the left sidebar at app.reasonautomation.com
Click “Add User”
Add their email address and name
Click on the check box under "Data Access" to designate which data sources you'd like to grant them access to
Click "Add user" to save


Edit user permissions
To edit user permissions, Go to the "Users & permissions" page on the left sidebar at app.reasonautomation.com
Under the "Brand Permissions" Column, click "Update Permissions" for the user that you'd like to make changes to
Click the respective check boxes to make them an Admin, a Billing Admin, or to allow them to Manage Data

Quickly Manage Billing
Go to the "Billing" page on the left sidebar at app.reasonautomation.com
You now have the option to see your current plan, add a payment method, change your billing address, and view your invoice history


Managing & Purchasing Dashboard Seats
Go to the "Users & permissions" page on the left sidebar at app.reasonautomation.com
Under the "Brand Permissions" Column, click "Update Permissions" for the user that you'd like to make changes to
Under the "Dashboards" Column, click "Select" for the user that you'd like to make changes to
To unassign users to a seat, click “Manage seats” > “Unassign” > “OK”
To purchase seats, click “Purchase seat” > “Purchase Seat”
Confirm that you’d like to purchase the seat for the designated price
Updates to Connections Controls & Dashboard Exports


Rename a connection
Go to the "Home" page on the left sidebar at app.reasonautomation.com
Identify the connection that you want to make changes to
Click on the edit icon under "Actions"
Set your preferred API Connection name
Click OK to save
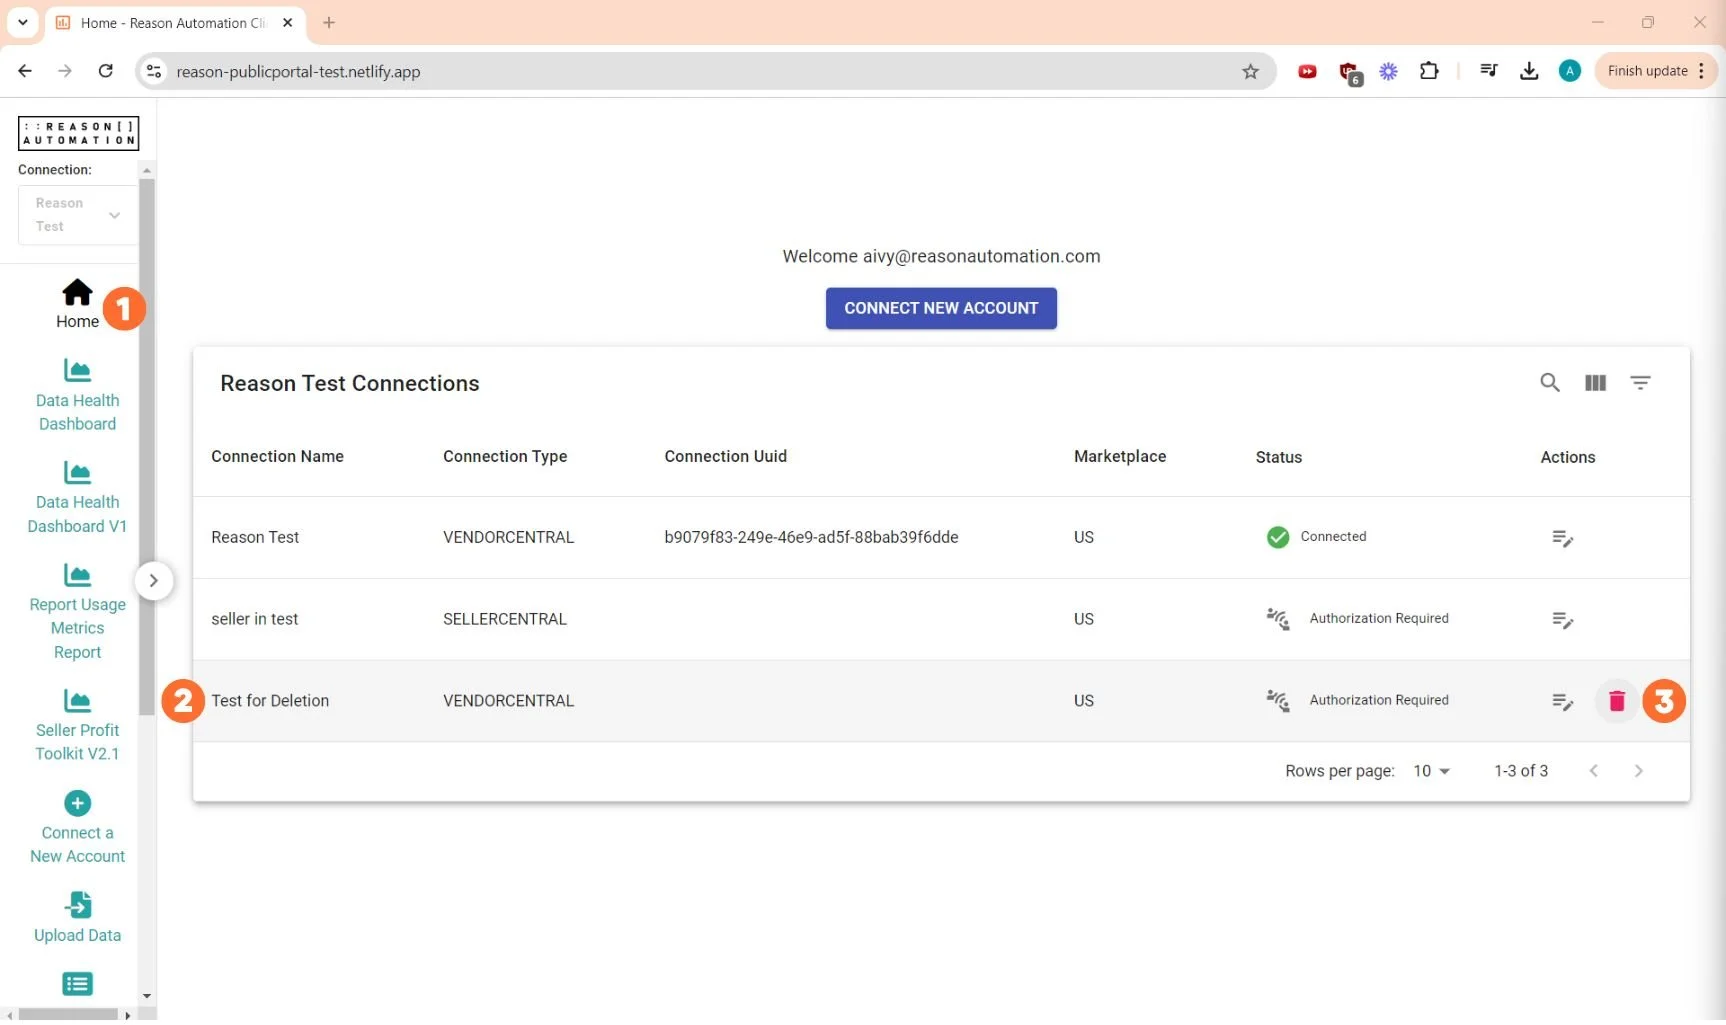

Delete Connections
NOTE: you will only be able to delete connections if you have more than one connection in your customer portal
Go to the "Home" page on the left sidebar at app.reasonautomation.com
Identify the connection that you want to make changes to
Click on the trash can icon under "Actions"
Click OK to confirm that you are deleting the correct connection


Exporting RA Dashboards
(Seller Core, Vendor Core, Seller Profit Toolkit, or Vendor Profit Toolkit)
Select the dashboard you'd like to download in the left sidebar
In the Upper right hand corner, Click "Download PPTX" or "Download PDF"
Select the specific pages you'd like included in the download
Select your preferred download format
Click "Export"